
Turn recordings into transcripts and summaries in minutes
Upload audio or video for multilingual transcription, AI notes, and action items
Handling Google Meet meeting records on PC: confirm three things first
To complete a handoff-ready Google Meet meeting record on a Windows PC, the first step is not to find a download link, but to confirm three prerequisites. If these three things are not confirmed, any tool downloaded later may be wasted effort.
1. Account and role: Who initiates the meeting and who is responsible for recording. Initiating a meeting and using advanced features usually requires a Google account with permissions; those simply invited can often join via an invitation link.
2. Recording permission: Google Meet recording is not automatically enabled by default; it must be actively started by a permitted initiator or participant. Whether recording is possible depends on account type, organization, and plan level. This should be based on Google's official documentation.
3. Audio source: Where the meeting audio comes from. Is it using Google Meet's built-in recording, or capturing system audio on your own computer? The file ownership, subsequent organization methods, and permission prerequisites differ between the two.
Write these three things into a pre-meeting checklist. When handing off to the next person, they will know how the meeting record was created, whether it can be supplemented, and who to ask for the file.
Which version to download: differences between desktop, web, and mobile
The search for "for pc google meet download" usually means wanting to record meetings on a computer. However, Google Meet takes different forms on different platforms. Distinguish the differences before deciding what to download.
| Version | How to get | Suitable scenario | Notes |
|---|---|---|---|
| Web | Open meet.google.com directly, no installation needed | Simply joining meetings, ad-hoc meetings | After closing the browser tab, recording and organization processes are easily interrupted |
| Desktop (PWA or desktop app) | Install the progressive web app per Google's official instructions, or use a third-party desktop client | Daily regular meetings, need stable recording and post-meeting organization | Need to confirm system audio and microphone permissions |
| Mobile | Download the app from Google Play or App Store | On the go, quick phone notes | Not suitable for transcript and action item organization on PC |
For administrative staff, assistants, and project coordinators, the PC is the main work scenario: meetings are held on the computer, and transcripts and action items are organized on the computer. If you only occasionally join meetings, the web version is sufficient; if you have multiple meetings to record every week, the desktop version is more stable than a browser tab.
Google's official instructions state that to use Meet calls, you can go to meet.google.com or download the Google Meet progressive web app (source: Download the Google Meet app - Computer).
Steps and prerequisites for downloading and installing the desktop version
The following covers prerequisites, steps, and checkpoints one by one.
Prerequisites
- A company-issued or personal Windows computer with permission to install applications.
- A Google account that can be used to sign in, or approval to join by the meeting initiator.
- Confirm who has recording permission for this meeting, to avoid installing the tool but being unable to record.
Installation steps
1. Open a browser and go to meet.google.com to confirm you can sign in normally and see the meeting interface.
2. Install the Google Meet progressive web app per Google's official instructions; if using a third-party desktop client, obtain the installer from its official channel.
3. After installation, open it from the Start menu or desktop shortcut to confirm you can enter meetings in a standalone window.
4. Before entering a meeting, test whether the microphone and speakers work properly.
Checkpoints
- The desktop version can open independently, not relying on a browser tab.
- The signed-in account matches the account invited to the meeting.
- Before the meeting starts, confirm who is responsible for recording.
If company security policies restrict installing third-party software, first confirm the allowed installation scope with IT or your supervisor, then decide whether to use the web or desktop version.
Setting up system audio capture: no bot needed to join as a participant
The meeting bot approach involves sending an extra participant into the meeting room. This method makes participants see an additional account, which is not suitable for some client meetings or external meetings.
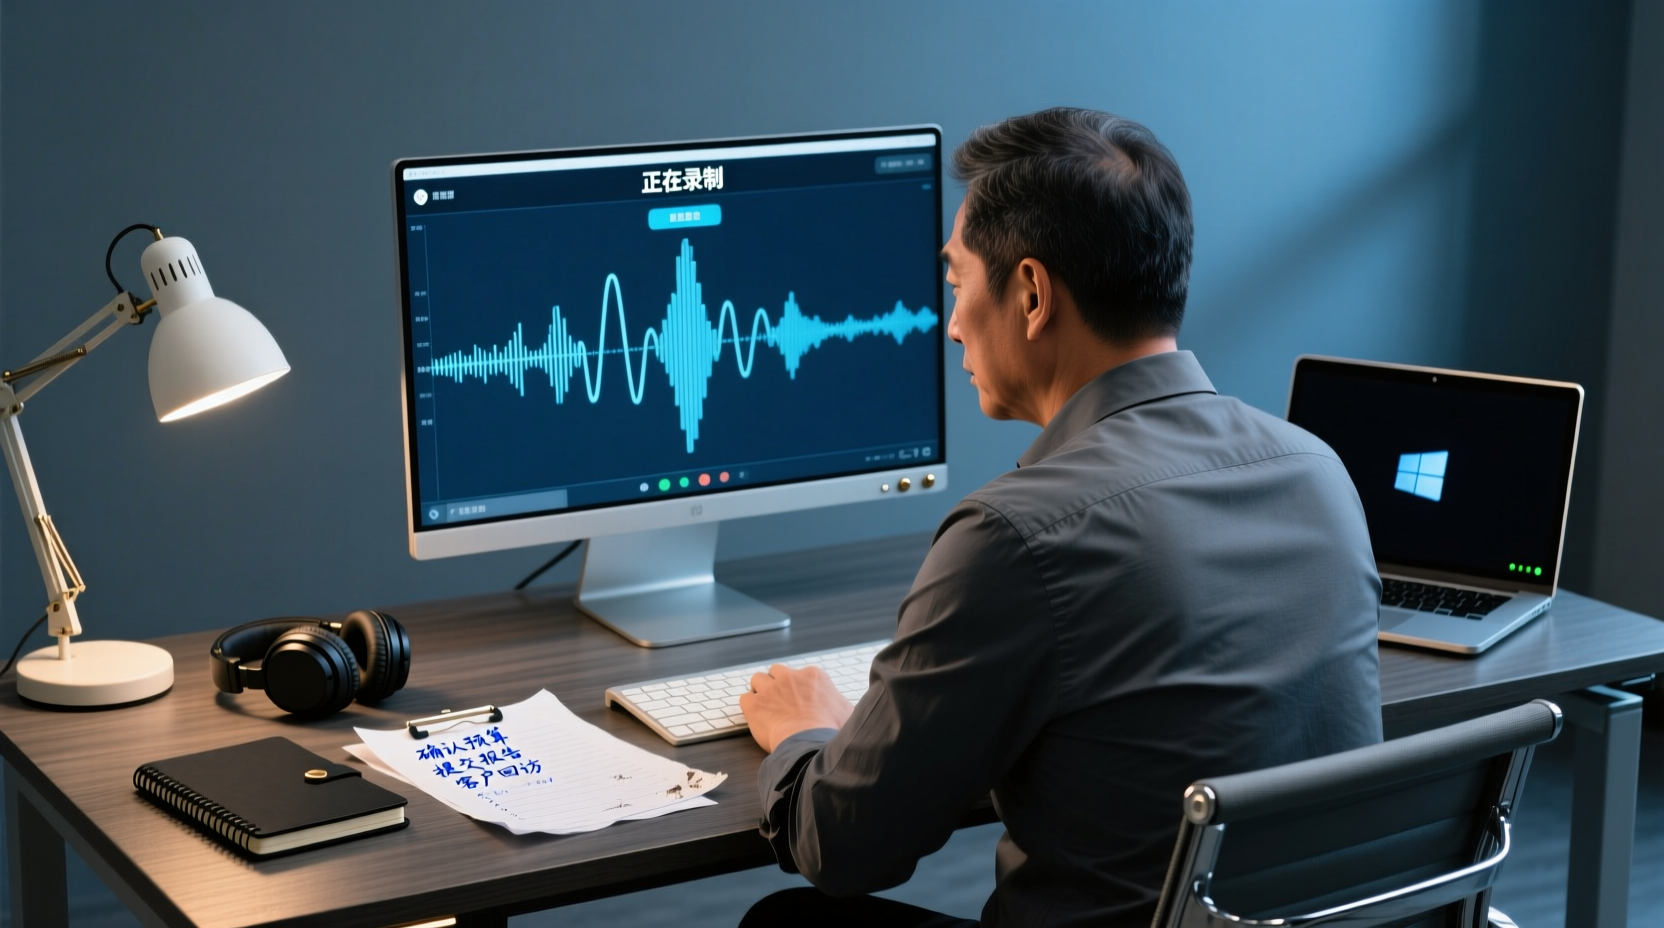
Another approach is to capture system audio on your own computer: the user actively opens the tool to start recording, directly capturing the meeting audio playing on the computer, without inviting any bot to join.
Take Tinrec desktop version as an example. It processes online meetings such as Zoom, Google Meet, Microsoft Teams, and Webex by capturing device system audio, without needing a meeting bot to join as a participant. When using it, you need to actively open Tinrec to start recording. This is different from "automatically joining all calendar meetings" and does not imply official cooperation with Google.
Stop organizing recordings by hand
Upload audio or video and automatically get a transcript, summary, and action items
Items to confirm during setup
- Whether the system audio source is correctly selected, to avoid recording only your own microphone and missing other participants' speech.
- Whether the microphone is also enabled, if you need to keep your own speech.
- Recording and transcription must comply with local laws, and obtain participant consent when needed.
For project coordinators, the value of this setup is: no unfamiliar account appears in the meeting room, the impression of external meetings is more natural, and after the meeting you can directly get organizable audio.
What you get after recording: transcript, summary, and action items
Recording is just the starting point. What really needs to be delivered after the meeting is decisions, owners, deadlines, and a record that can be placed into project documents.
Take Tinrec as an example. After recording or importing, you can get:
- Transcript: preserves original speech content, supports search and review.
- AI summary and chapters: quickly grasp the structure and key points of long meetings.
- Action items: organize follow-up actions from the discussion.
- AI Q&A: continue asking questions about the meeting content.
- Multi-format export: bring results to Notion, Google Docs, OneNote, Dropbox, and other tools for continued use.
It should be noted that important decisions and sensitive content still require manual verification of the transcript and recording. AI may miss or misunderstand details. For external sending and key decisions, it is recommended to confirm manually before finalizing.
Organizing meeting content into handoff-ready post-meeting materials
After getting the transcript and action items, the next step is to turn them into materials others can directly use. The following is a fictional teaching example to illustrate the organization order, and does not represent a real customer case.
Suppose a client requirements meeting has ended, and the transcript and action items have been generated. When organizing, you can follow this order:
1. Verify decision points: pick out the confirmed decisions from the transcript, and check against the recording to confirm nothing was misheard.
2. Confirm owners and deadlines: action items should include owners and dates, not just a note saying "follow up later."
3. Produce deliverable documents: organize content into meeting minutes, reports, or tables, choosing the format based on purpose.
4. Mark items to be confirmed: for content that cannot be confirmed on the spot, clearly indicate who needs to confirm it.
Tinrec's AI assistant (Agent) can, based on meeting context, help further process action items into action plans, follow-up materials, reports, tables, or documents. These outputs are drafts and still require manual confirmation before external sending.
Troubleshooting common permission and audio issues on PC
| Symptom | Possible cause | Solution direction |
|---|---|---|
| Only your own voice recorded | System audio source not correctly selected | Reselect system audio as the input source |
| No sound at all | App does not have microphone or audio permission | Check app permissions in Windows privacy settings |
| Sound is intermittent | Bluetooth headset switching or device conflict | Test with a wired device to confirm audio device stability |
| Cannot install desktop version | Company security policy restrictions | Confirm allowed installation scope with IT, or switch to web version |
| Record button unavailable | Account or plan lacks recording permission | Confirm meeting initiator and organization settings, based on Google's official documentation |
When troubleshooting, it is recommended to change only one setting at a time and test immediately after, to avoid changing multiple items at once and being unable to determine the cause.
How to share and hand off meeting records in team scenarios
If meeting records remain only on a personal computer, they are easily lost when members change or take leave. A common situation for project coordinators is: the meeting is over, but transcripts and action items are scattered across personal accounts, chat records, and local folders, and the next person cannot find them when taking over.
Tinrec team edition provides an independent team collaboration space, which is different from multiple people sharing a personal account. Two capabilities directly relevant to this scenario are:
Team space: Meeting data is centrally stored in the team space, and members can view and reuse historical meeting data. Team resources belong to the team, not to the individual uploader. It should be noted that the team edition focuses on team-level sharing, with role-based governance and seat-based usage eligibility. It is not a document-level or member-level fine-grained permission system.
Shared meeting data: When a member exits, is removed, or loses their seat, their team resources can be handed off to other active members, so meeting data does not lose ownership when an individual leaves. Active members without a seat can still view, play, and read team data, but cannot perform resource usage operations such as upload, edit, import, or export.
In practice, after the meeting ends and the transcript and action items are confirmed, project coordinators can place the data into the team space so that members responsible for follow-up can directly access it, rather than sending files one by one. If your team needs multiple people to share meeting records and retain data ownership when members change, you can learn more about Tinrec team edition's team space and shared meeting data capabilities.
Summary
Handling Google Meet meeting records on PC follows this order: first confirm the three things—account, recording permission, and audio source—then decide whether to download the web or desktop version, then set up system audio capture, and after recording obtain the transcript, summary, and action items, and finally organize them into handoff-ready post-meeting materials. Steps requiring manual confirmation include important decisions, external sending content, and sensitive data; recording and transcription must also comply with local laws and obtain participant consent when needed.
References
Turn every recording into actionable outcomes
Get 60 free transcription minutes when you sign in. No credit card required.
Related Reading
You might also like

Does Google Meet Record Automatically? Recording Requirements, File Locations, and What to Do If You Missed It
Google Meet does not record automatically by default; recording requires a host or permitted participant to manually start it. This article explains how recording permissions relate to account types, where recordings are stored and how they are shared, three real-world limitations, and how to capture a record using desktop bot-free recording when a meeting was not recorded, plus a post-meeting workflow for turning recordings into transcripts and action items.

Does Google Meet Record Automatically? Recording Permissions, File Location, and a Handoff Checklist for Missed Recordings
Google Meet does not record automatically by default; someone with permission must manually start the recording. This article, from a staff handoff perspective, explains who can record, where the files are stored, plan and admin restrictions, and how to use desktop no-bot recording to fill in transcripts, decisions, and action items when a meeting wasn't recorded.

How to Choose a Google Meet Meeting Notes Tool: Four Dimensions to Narrow Your Options to Two or Three
Project and department staff who host multiple Google Meet meetings each week often find that after the meeting ends, no one can clearly say who is responsible for what. This article uses four selection dimensions—how audio gets in, how far post-meeting output goes, Chinese-language organization experience, and where data is stored—to narrow down a dozen tools claiming Google Meet support to two or three, and explains what questions to ask for each dimension.

Does Google Meet Require an Account? Differences Between Invitees and Hosts, Plus a 3-Step Process for Joining, Confirming Recording, and Post-Meeting Handoff
Got a Google Meet link but hit a login screen? This article explains the account requirements for invitees versus meeting hosts by role, and provides a three-step handoff process for joining a meeting, confirming recording status, and organizing transcripts and action items. Suitable for administrative and project coordination staff.

Google Meet Requirements: What Attendees and Hosts Need Before a Meeting
If you're arranging or joining a Google Meet for the first time, start by figuring out whether you're an invitee or the host. This guide breaks down account, browser, device, recording permission, and external attendee requirements by role, plus a pre-meeting checklist covering who records, who takes notes, who hands off, and how to capture a transcript and action items without a bot if the meeting wasn't recorded.
How to Record Google Meet on Mac: From System Audio Permissions to Transcripts and Action Items Handoff
Recording Google Meet on a Mac usually isn't about whether you can hit record—it's about system audio and microphone permissions, the division of labor between browser and desktop app, and how to hand off transcripts, summaries, and action items after recording. This article walks through prerequisites, permission settings, checkpoints, and deliverables, explaining how to capture system audio with a desktop app without a bot joining the meeting, and which steps require manual confirmation.

Does Google Meet Record Automatically? Permissions, File Locations, and How to Hand Off When Nothing Was Recorded
Google Meet does not record automatically by default; a host with permission must start it manually. This article explains, from a staff handoff perspective, who can record, where files are stored, plan and download restrictions, and how to fill in transcripts, notes, and action items with desktop no-bot recording when a meeting was not recorded, plus the checkpoints for team sharing and handoff.

Does Google Meet Record Automatically? Recording Permissions, File Locations, and a Backup Handoff Checklist When Nothing Was Recorded
Google Meet recording is not automatically enabled by default—someone with permission must actively press start. This article, written from the perspective of meeting planning and post-meeting organization, explains recording permission ownership, file storage and download permissions, plan-level restrictions, and how to use desktop no-bot recording to fill in transcripts, minutes, and action items when a meeting wasn't recorded, then share the handoff in a team space.

How to Choose a Google Meet Meeting Notes Tool for PC: Four Dimensions to Narrow Your Options to Two or Three
When running Google Meet on a Windows PC, choosing a meeting notes tool isn't just about whether it "supports" the platform—it's about post-meeting output and data ownership. This article uses four dimensions—audio capture method, post-meeting output level, Chinese and mixed Chinese-English organization experience, and whether data stays in personal or team space—to help you narrow your options to two or three, and explains what questions to ask for each dimension.