
Turn recordings into transcripts and summaries in minutes
Upload audio or video for multilingual transcription, AI notes, and action items
Before You Start: One Key Decision to Make
Setting up a Teams room isn't just about placing a device in a room. The real decision you need to make is: does this room need "basic meeting capabilities" or "full hybrid meeting management"?
This choice directly impacts the licenses you'll need to purchase and the settings you'll configure. Honestly, for most small and medium-sized businesses, starting with the Basic edition is sufficient. However, if you have several large conference rooms or frequently have remote participants who need to clearly see everyone in the room, the Pro edition is more worthwhile.
Before you begin, make sure you have the following ready:
- A Microsoft 365 or Teams admin account (with permission to add resource accounts)
- The device to be used in the room (can be a Teams-certified room device or a computer for initial testing)
- A decision on which license to use for the room: Teams Shared Device license, Teams Rooms Basic, or Teams Rooms Pro
- A stable network connection, especially wired Ethernet or Wi-Fi for the room device
If you're just testing, Microsoft offers a free trial—you can start with that without purchasing a license right away.
(Illustration: A small conference room with a screen and meeting device on the table, a laptop showing the Teams admin console, conveying a room deployment scenario)
Step 1: Add a Room Resource in the Teams Admin Center
The goal here is to create a "room identity" in the backend so users can see and book it in Outlook or Teams calendars.
Log in to the Microsoft Teams admin center, navigate to the "Meetings" settings area, and select "Add room." Then enter the room's basic details, such as name, capacity, and location. The room name is crucial—users will see this when searching in the calendar, so it's recommended to use a format like "Floor-Room Number-Purpose," e.g., "3F-Conference Room A" or "5F-Video Conference Room."
Why care about naming? Because when office workers search for a room in the calendar, they typically type in keywords. If your room names are clear and intuitive, people won't need to check floor plans to confirm locations.
Once added, the system creates a room resource account. This account acts as the room's "ID" in the Teams ecosystem, and all subsequent license assignments and device bindings rely on it.
(Illustration: Backend interface showing a list of room resources, each with name, location, and capacity)
Step 2: Assign the Appropriate License to the Room
This step grants the room the "identity" to join meetings. Rooms aren't people, so they need different licenses than regular users.
If your room only has a Teams panel (for displaying meeting info and on-site booking), Microsoft's rule is to use the Teams Shared Device license. This is cost-effective and suitable for small spaces or simple display needs at the door.
However, if you're installing a full Teams Rooms device in the room—allowing one-touch join for video meetings, speaker/mic, and camera—you'll need the Teams Rooms Basic license. Basic covers core meeting features like one-touch join, whiteboard, and content sharing.
As for Teams Rooms Pro, it includes everything in Basic, plus intelligent audio and video, multi-screen support, and full device management. If your company has several large conference rooms or IT needs to remotely manage all devices, Pro is the more sensible choice. Microsoft also notes that AI-powered meeting features are included with Teams Rooms Pro licenses, so no additional Copilot license is needed.
Keep in mind: while you can upgrade licenses later, it's best to plan upfront to avoid having different licenses for each room, which complicates management.
(Illustration: Comparison of three license options—Shared Device on the left, Basic in the middle, Pro on the right—with key features listed below)
Step 3: Bind the Room Device to the Resource Account
This step connects the physical device in the room to the backend room identity.
When signing in on the room device, use the room resource account you created. Once signed in, the device becomes the room's "representative," and when users book this room in Outlook or Teams, meeting details automatically sync to the device.
If your room device is Teams-certified hardware, the setup process typically guides you to sign in with the resource account. If you're testing on a regular Windows or Mac computer, you'll sign in to that resource account within the Teams app.
After binding, it's recommended to test in the room: book the room with your own account, then verify that meeting details appear on the device and that one-touch join works. Testing once ensures employees won't hit issues later.
(Illustration: Room device screen showing the day's meeting schedule with a "Join" button, clean and clear)
Stop organizing recordings by hand
Upload audio or video and automatically get a transcript, summary, and action items
Step 4: Add and Book the Teams Room in Outlook
This step shows everyday users how to actually use the room in their daily work.
Open Outlook, go to the calendar, and click "New Teams Meeting." In the meeting invite, besides entering the meeting name, time, and attendees, you can search for the newly added room in the location field. After selecting the room, the system automatically checks availability for that time slot.
This process is intuitive for office workers, similar to how they'd book a room before, except now the location field directly shows Teams rooms. If the room is already booked, the system shows a conflict, and users can pick another time or room.
Worth noting: Microsoft also mentions that location search tools and Copilot in Microsoft Calendar can simplify booking desks and meeting spaces. However, whether this feature is available in your environment depends on your plan and settings.
(Illustration: Outlook calendar new meeting invite screen, with location field showing room options and time field marked)
Step 5: Manage and Maintain Room Usage
This step enables IT or administrators to continuously monitor room usage and make adjustments as needed.
In the Teams admin center, you can view each room's device status, usage, and health. With Teams Rooms Pro, you also get full device management, including remote device status checks, firmware updates, and troubleshooting.
Microsoft also treats Teams Rooms and other shared spaces as areas for auxiliary meetings, collaboration, and work. Through Places, you can leverage coordination and analytics to further optimize room and desk bookings, providing space analytics and insights. This is especially helpful for enterprises managing multiple office locations, reducing manual inventory work.
If you're just starting, it's recommended to pilot with one or two rooms, ensure users and IT are comfortable with the process, then gradually expand to other spaces.
(Illustration: IT admin viewing a dashboard of room device health, with devices shown in green and yellow status icons)
FAQ and Troubleshooting
Q: If a room only has a display panel, do I need Teams Rooms Pro?
No. If you only have a Teams panel, Microsoft's rule is to use the Teams Shared Device license. You can upgrade to Teams Rooms Pro later when you add full room devices.
Q: What's the biggest difference between Teams Rooms Basic and Pro?
Basic covers core meeting features, suitable for a standard conference room. Pro adds intelligent audio and video, multi-screen support, and full device management, making it better for large rooms or enterprises needing extensive management. Pro also includes AI-powered meeting features, so no separate Copilot license is required.
Q: Users can't find the newly added room in Outlook. What should I do?
This is usually because the room resource account's display settings haven't taken effect, or the user's address book hasn't synced yet. First, verify the room resource account is enabled and has the correct location info. If everything looks right, wait a bit for the address book to sync and try again.
Q: The room device doesn't show meeting schedules after sign-in. What's wrong?
Most often, the binding between the resource account and the device is incomplete, or the room license wasn't assigned correctly. Go back to the Teams admin center, confirm the resource account has a license assigned, and that the device is signed in with the same resource account.
Q: Can I test with a regular computer first and buy certified room devices later?
Yes. You can sign in to the room resource account on a regular computer to test the process, and once you're confident, decide whether to purchase Teams-certified room hardware.
Pro Tips: 3 Ways to Make Room Management Easier
Tip 1: Standardize Room Naming Conventions
Before full deployment, discuss naming rules with admin or facilities teams. For example, "Taipei-3F-Room A" or "Taipei-3F-Room B." Consistent naming helps users search quickly in the calendar and reduces management confusion later.
Tip 2: Leverage Space Analytics Data
If you use Teams Rooms Pro, you can use space analytics to understand actual room utilization. Which rooms are often booked but rarely used? What are peak times? This data helps you adjust room configurations, like converting low-usage spaces into flexible work areas.
Tip 3: Create a Quick-Start Guide for Rooms
Microsoft's official docs also recommend placing a quick-start guide in each room, so users know how to power on the device, join meetings, and share content. You can designate a "meeting champion" at each location to help others get up to speed. This is far more effective than IT training everyone individually.
If You Don't Use Teams Rooms, Here Are Alternatives
If your company already uses Google Workspace, you could consider Google Meet's room hardware solutions, but they won't integrate as naturally with Microsoft 365 as Teams Rooms. If your room needs are simple—just occasional video—you could also use a computer connected to a TV, but you'd lose the one-touch join and centralized management of dedicated devices. Overall, for businesses already using Teams, Teams Rooms is the most seamless choice.
Conclusion
Setting up a Teams room—from creating a resource account in the backend, assigning licenses, binding devices, to letting users book in Outlook—isn't complex. The key is choosing the right license from the start. For display panels only, use the Shared Device license; for full rooms, use Basic; and for intelligent audio/video and device management, go with Pro. We recommend starting with one room to test the process, then gradually expanding company-wide.
References
Turn every recording into actionable outcomes
Get 60 free transcription minutes when you sign in. No credit card required.
Related Reading
You might also like

Google Meet 2024 Update Recap: 5 Most Notable Feature Changes
A look back at Google Meet's key updates in 2024, from AI meeting notes and real-time translated captions to alternatives for bot-free recording, and a quick overview of which features truly impact daily meeting efficiency.
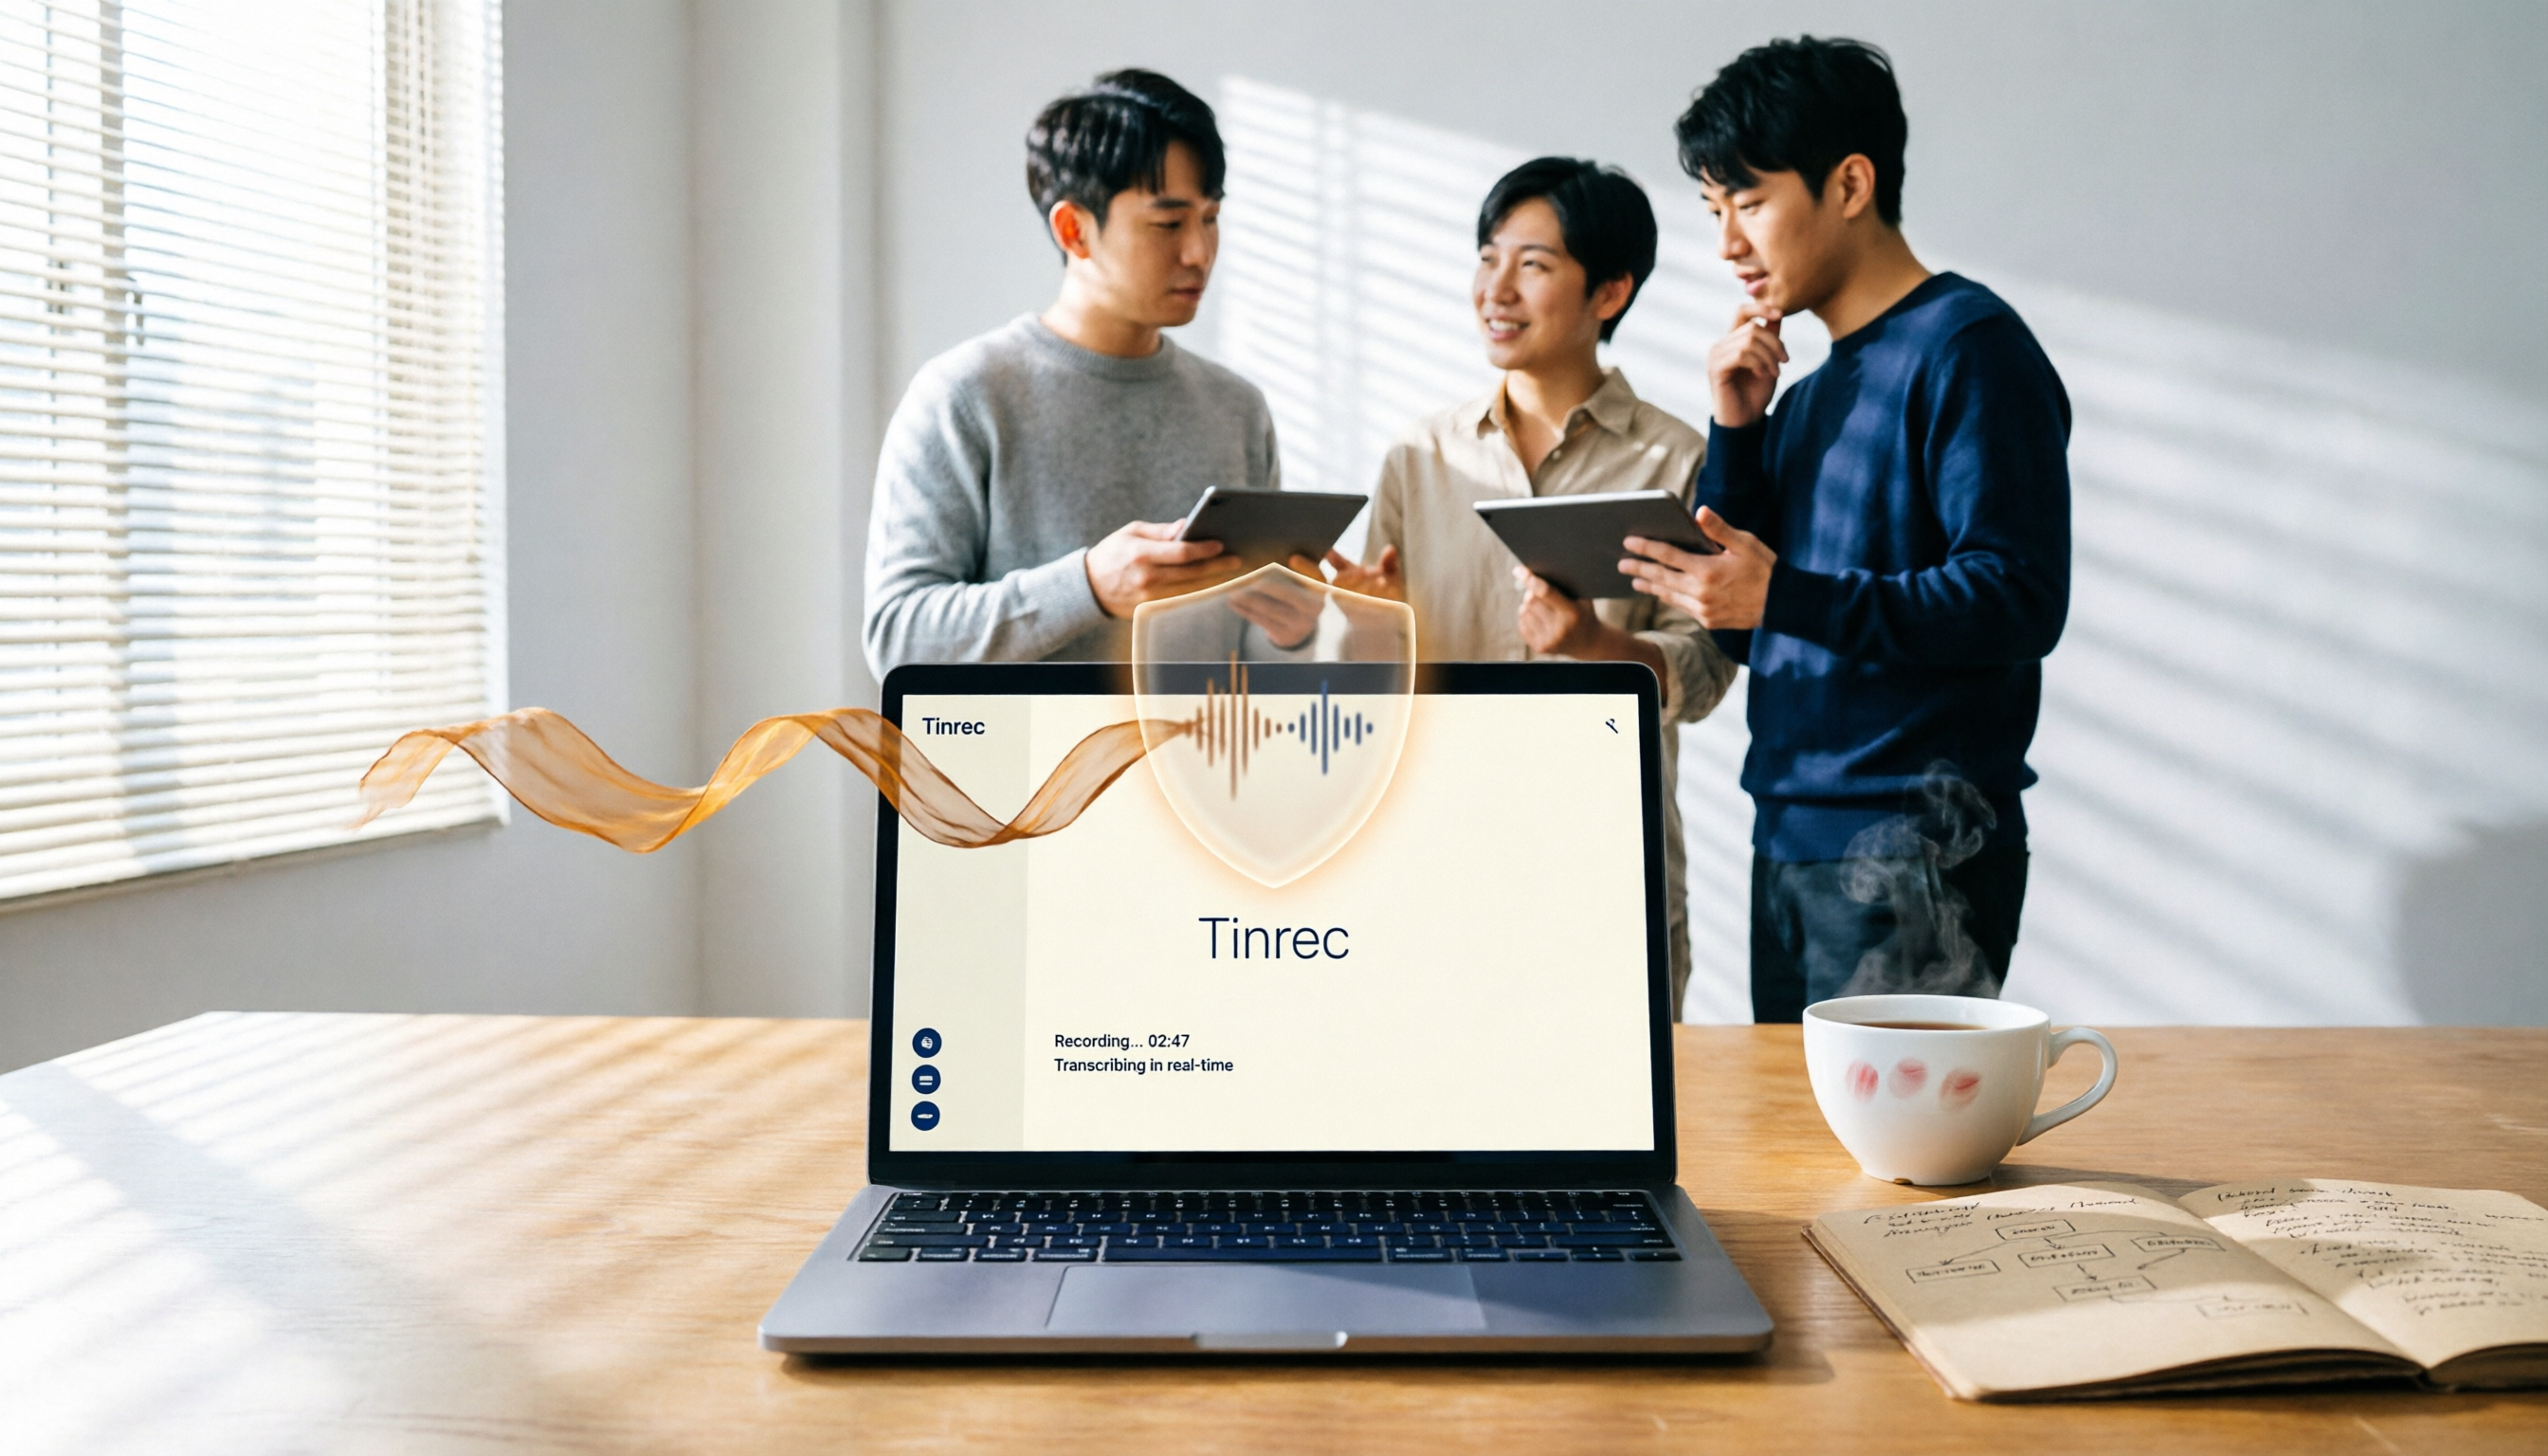
Good Tape vs Tinrec 2026: A 4-Dimension Comparison for Security and Team Fit
Good Tape promotes Danish GDPR compliance and automatic audio deletion, but when compared side-by-side with Tinrec, the definition of security differs. This article tests both tools across 4 dimensions to help you decide which is better suited for small and medium teams.
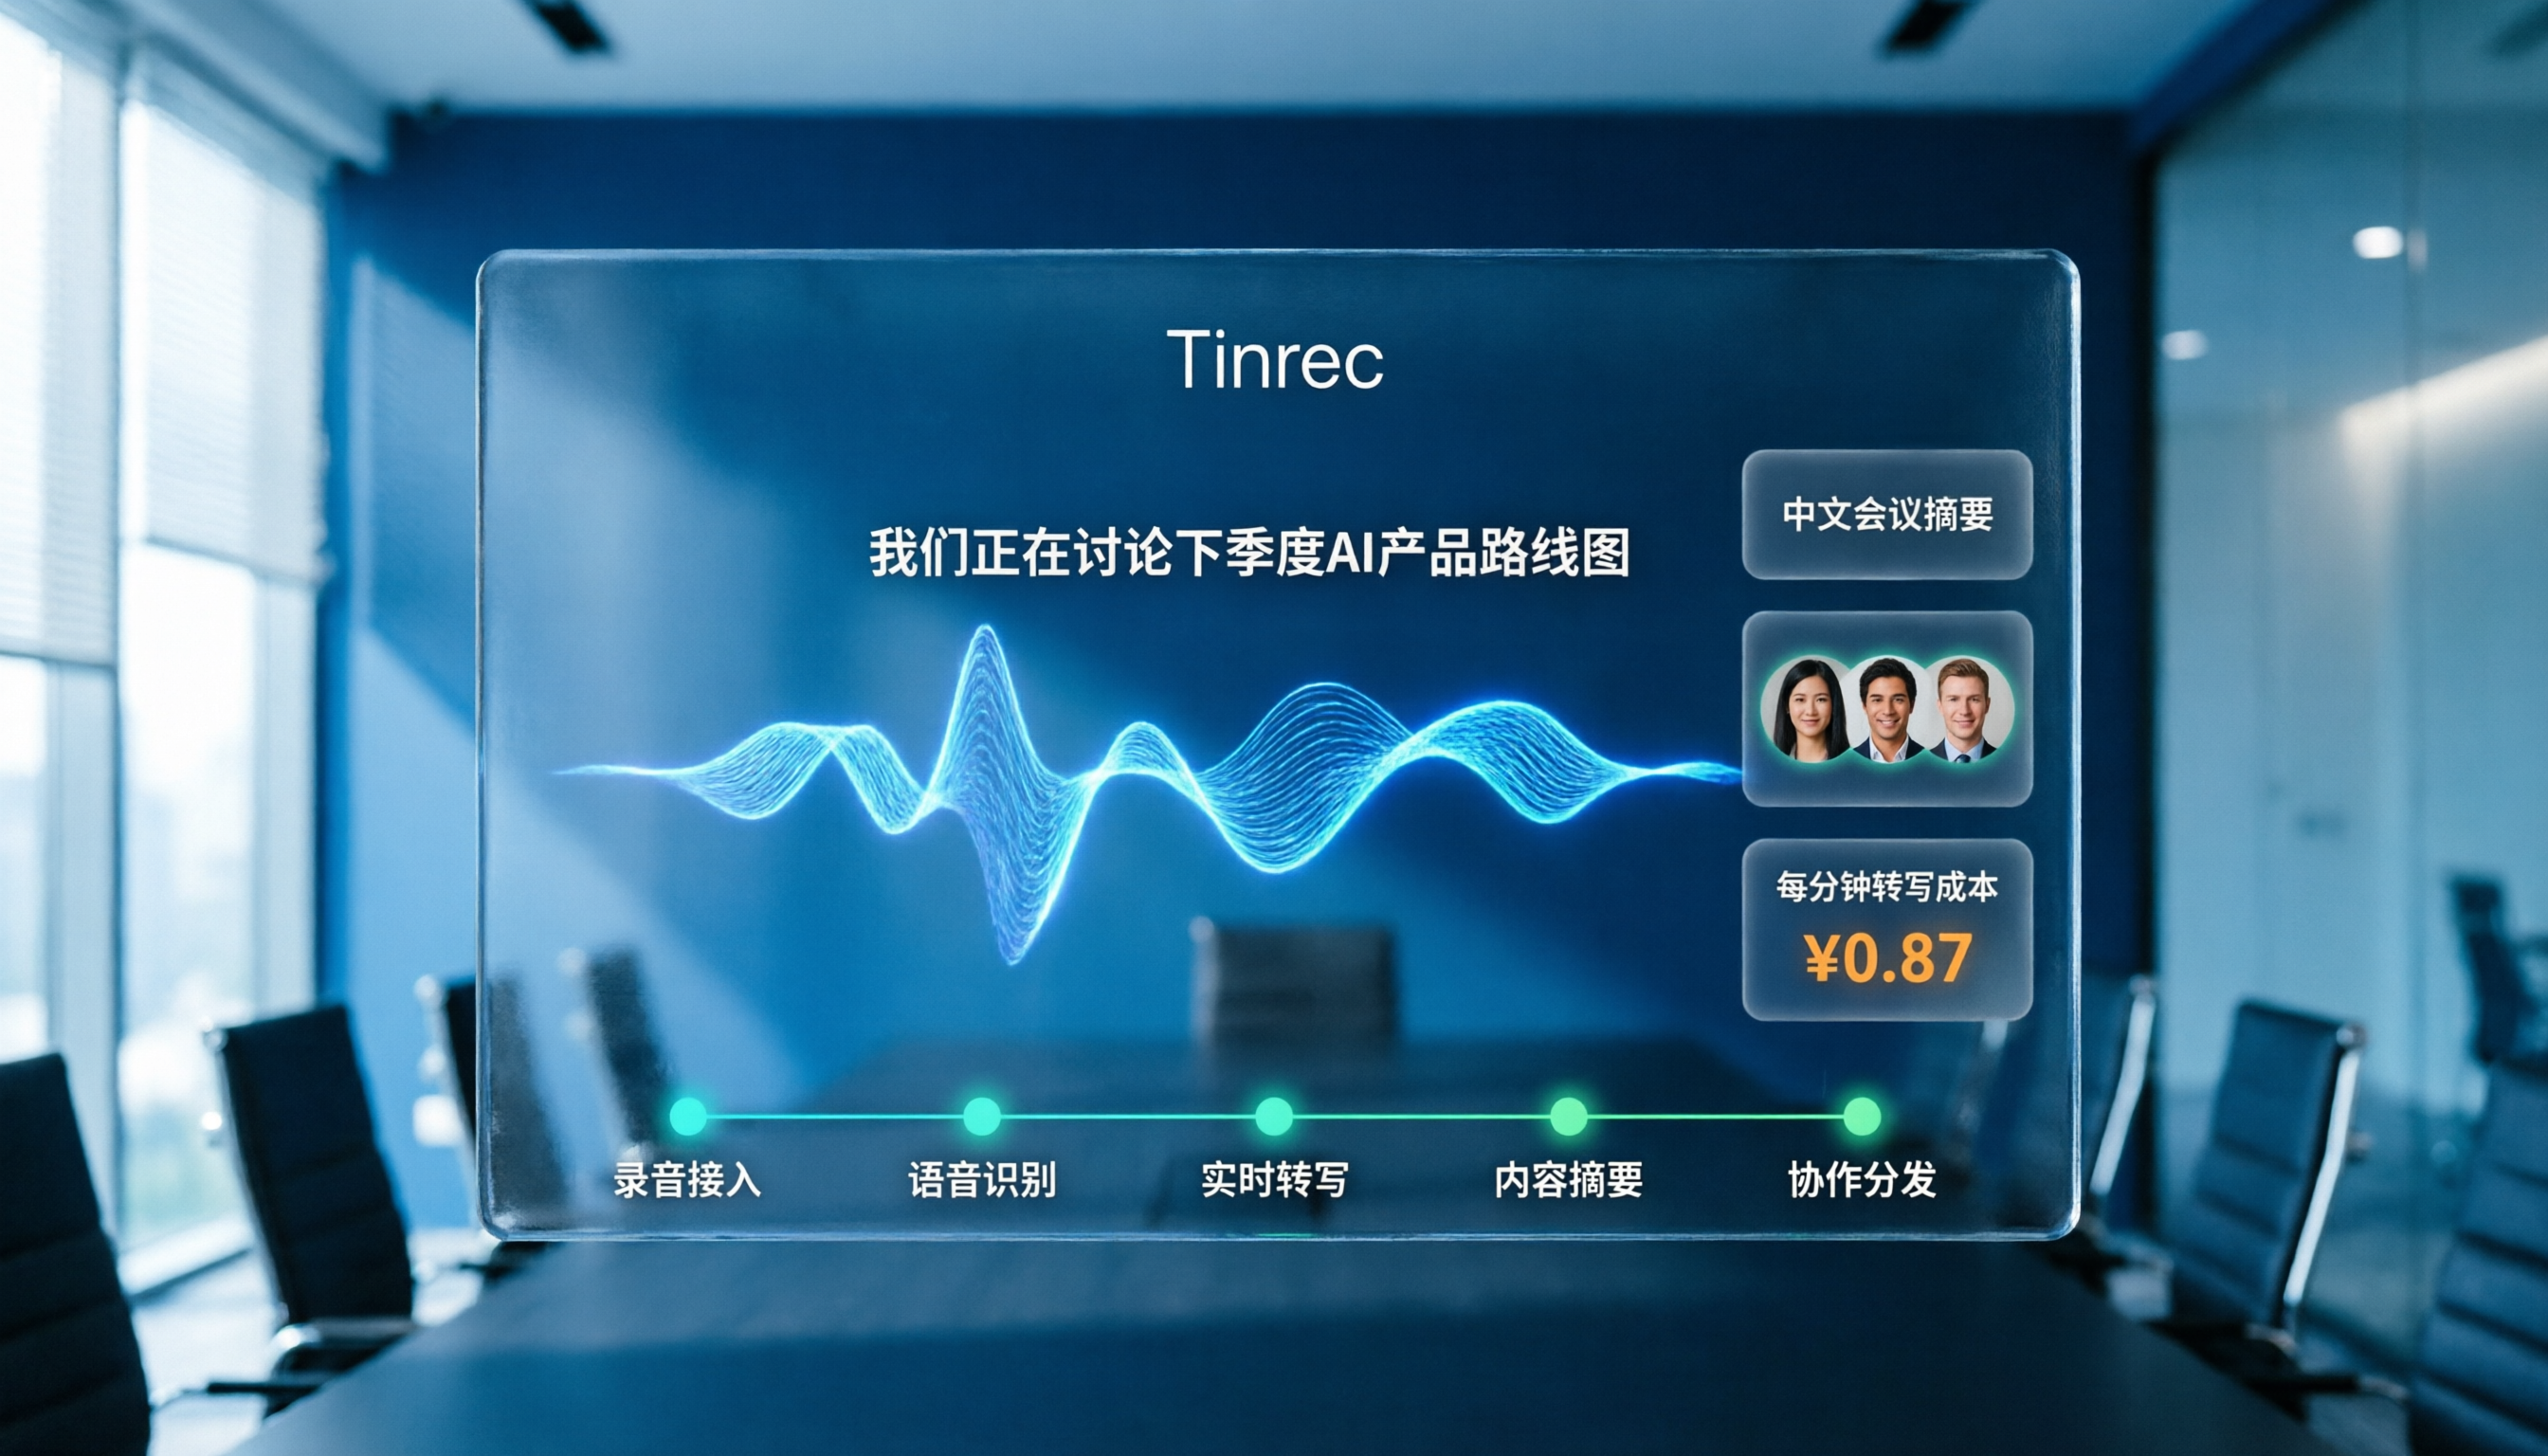
How to Choose a Speech-to-Text Tool in 2026: 5 Steps to Understand Good Tape Pricing and Alternatives
Is Good Tape's pricing worth it? This guide walks you through 5 steps—from free plans to paid tiers and alternatives—to calculate the true cost per minute, so you don't sacrifice Chinese meeting support, team collaboration, or AI summarization for a low price.

2026 Notta Alternatives Tested: Why More Users Are Switching to Tinrec?
Is Notta AI's free plan sufficient? This article tests Notta's free tier limitations and presents Tinrec as an alternative, comparing features like bot-free recording, Chinese meeting transcription, AI Q&A, and team spaces to help you decide which tool suits your daily meeting needs.

Tinrec vs Notta 2026: 5-Dimension Comparison for Chinese Meeting Notes & Team Collaboration
Tired of spending hours on meeting notes every week? This article, from the perspective of a mid-level manager, compares Tinrec and Notta across 5 dimensions: bot-free recording, Chinese transcription, AI Q&A, team spaces, and pricing, to help you decide which tool is better suited to turn meetings into searchable, trackable team knowledge.

Notta Free Plan Tested in 2026: Is 120 Minutes Enough? 4 Limitations to Know First
Notta does offer a free plan, but many users overlook the 120-minute monthly cap and the 3-minute per-file limit. This article breaks down what you can actually do with Notta's free tier, how much the paid plans cost, and who should consider alternative tools instead.

4 AI Meeting Recorder Tools Compared in 2026: Which Free Plan Is Actually Worth It?
Looking for a free AI meeting recorder? This hands-on comparison breaks down the free plans of Notta, Otter, Fireflies, and Tinrec—covering transcription minutes, per-session limits, Chinese-language support, and team collaboration—to help you find the one that truly saves you time.

Google Meet vs FaceTime in 2026: The Complete Guide to Cross-Platform Support, Video Quality, and Use Cases
Still trying to decide between Google Meet and FaceTime? This article breaks down platform support, call quality, participant limits, meeting features, and costs to help you choose the right video calling tool for your needs.
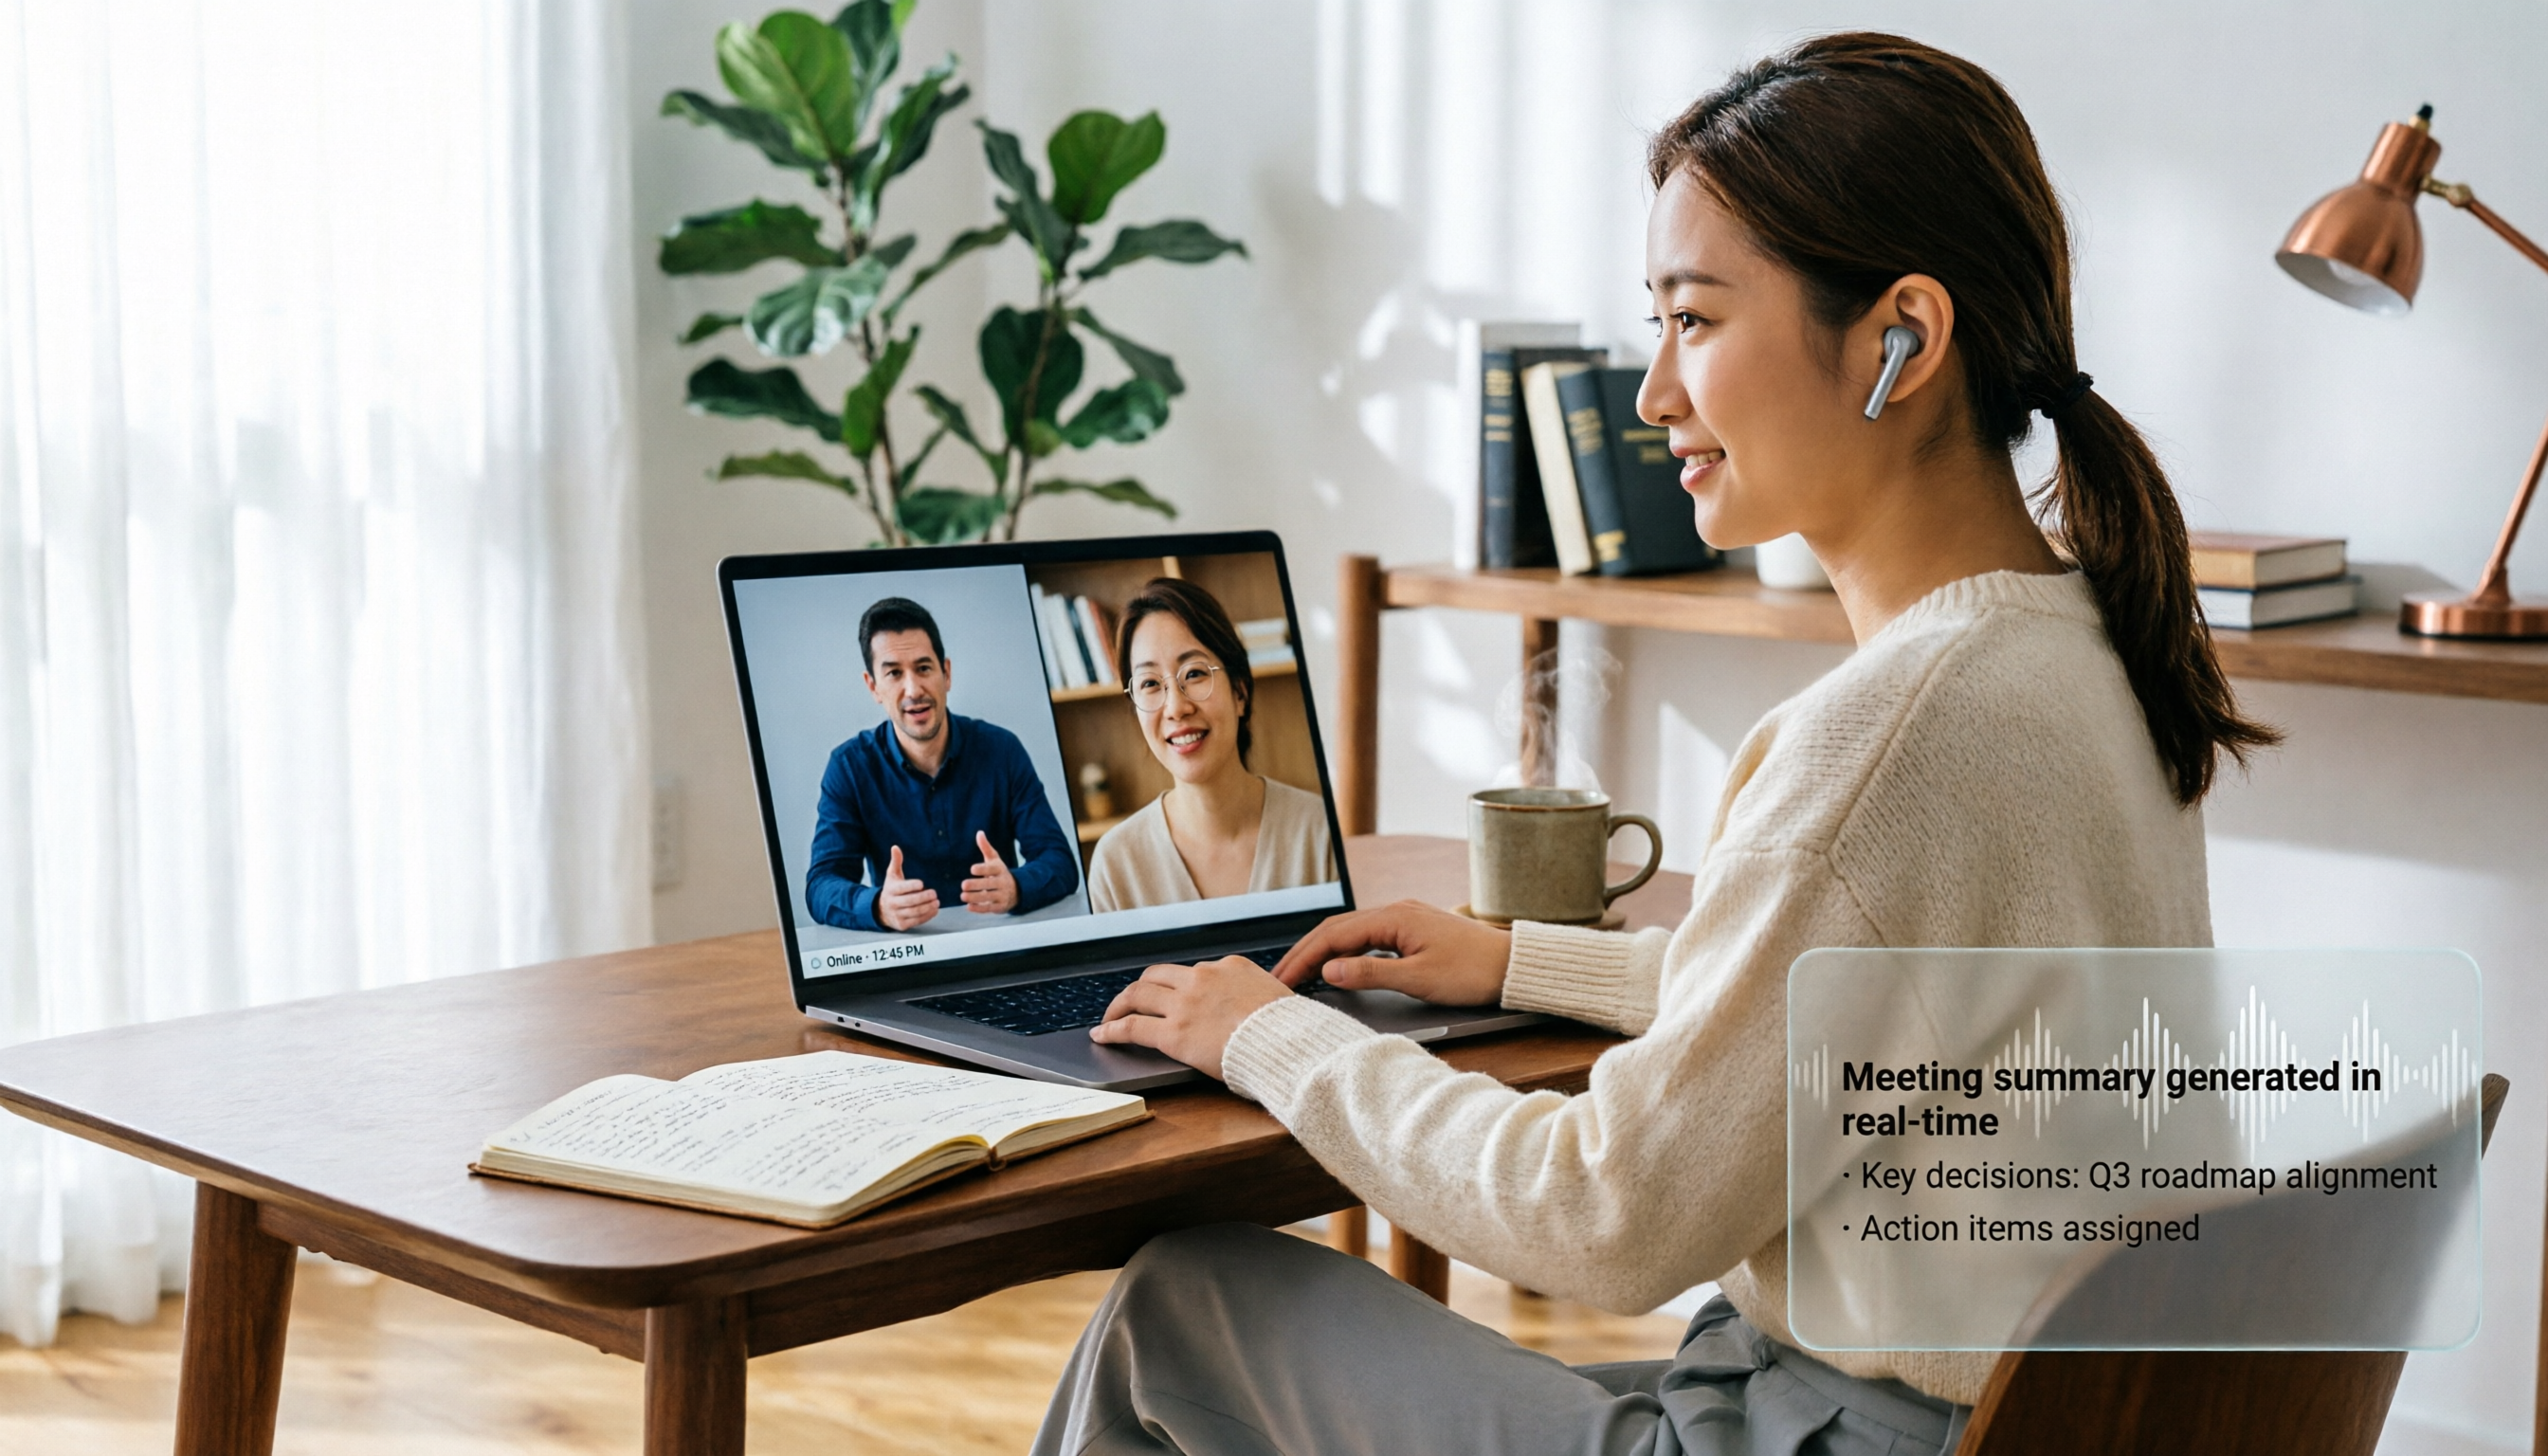
Google Meet vs Zoom 2026: Free Plan, Video Quality & AI Features Compared
Choosing between Google Meet and Zoom? This hands-on comparison evaluates free plan limits, call quality, screen sharing, AI features, and mobile experience to help you decide which is better for daily meetings, client calls, and remote collaboration.