
Turn recordings into transcripts and summaries in minutes
Upload audio or video for multilingual transcription, AI notes, and action items
What's the Point of Taping a Hockey Stick?
When you tape your stick for the first time, most people run into the same thing: it looks fine in your hands, but once you hit the ice, the feel is completely off. The puck slides on the blade, passes don't go where you want, and after a couple of games the corners of the blade are already worn down.
Tape isn't decoration. It handles three things at once: feel, protection, and your pre-game routine.
Honestly, there's no single right answer for taping—only what suits your style of play. This guide breaks down the common taping styles so you know what each one does before you try them.
What Can Taping Your Hockey Stick Do for You?
Scenario 1: Consistent puck feel The main job of tape is to add friction to the blade. An untaped blade is too slick, and you'll struggle to receive and control the puck.
Scenario 2: Protect the blade and extend the stick's life The second job is protection—against scratches and skate blade impacts. Composite sticks aren't cheap these days, and the blade is the most vulnerable part. An extra layer of tape is an extra layer of cushioning.
Scenario 3: Build your own pre-game ritual Every player's pre-game routine is a little different, but taping is often the most personal part. Whether you wrap heel-to-toe or leave the toe bare is up to your habits.
Four Common Blade Taping Styles
1. Heel-to-toe The most common style. Start at the heel (near the shaft) and wrap toward the toe. Some say this style slightly slows down your shot, but the puck comes off the blade with spin, making it harder for goalies to control.
2. Toe-to-heel Wrap in the opposite direction, or just tape the toe section. This preserves more direct feel, good for players who like to make plays with the toe of the blade.
3. Full wrap Cover the entire blade from heel to toe with no gaps. Best protection, ideal for players who practice a lot and wear through blades quickly. Some players add a double layer in the same spot, creating a "double-layer, bare toe" variation.
4. 3/4 wrap Leave just a small section at the very toe or heel untaped. This is a compromise between protection and feel: most of the blade is covered, but the exposed bit still gives you direct puck feedback.
Keep in mind that the differences in shot speed and puck feel among these styles mostly come from player experience, not lab data. Your own feel is the final judge.
How to Handle the Grip and Shaft
The knob is at the top of the stick. The traditional approach is to wrap enough tape to create a distinct bump so your top hand doesn't slip off—this is still the most common style. The key isn't how thick you make it, but that it's a height your top hand can grip and control.
Another option is a stick grip. It's softer than tape, feels more consistent, and the material is less abrasive on your glove palms—a plus if you go through gloves often.
For the shaft, you can leave it bare, tape a section in your grip area, or do a spiral candy cane pattern.
For beginners, the traditional "knob + shaft + blade" setup is the safest starting point. Play a few times with a basic setup, then adjust gradually.
How to Choose Based on Position and Style
- Focus on shot and passing consistency: Heel-to-toe, or 3/4 wrap.
- Like to make plays with the toe, prioritize feel: Toe-to-heel, leave the toe bare.
- Practice a lot, want to extend stick life: Full wrap.
- Inline or off-ice training: Don't use a standard tape job. On concrete or tile, traditional taping creates drag—usually you switch to applying pre-cut tape strips horizontally across the blade.
- Complete beginner: Traditional three-piece setup.
Real-World Scenarios
First time taping your own stick Start with the traditional three-piece setup: tape the knob, then wrap the blade heel-to-toe. It won't be perfect the first time—the point is to learn how each part feels.
Make one stick last a whole season If you play often, consider a full wrap and switch to a stick grip for the knob. You get good protection, and your gloves won't wear out as fast.
Find the feel that suits you best Change only one variable at a time. This time, only change the blade taping style and leave the knob alone; next time, only leave the toe bare. If you change two or three things at once, you'll never know which one made the difference.
Team equipment standards Coaches or equipment managers can create a demo, explain it clearly, write it down, and have new players follow it—no need to teach from scratch every time.
Stop organizing recordings by hand
Upload audio or video and automatically get a transcript, summary, and action items
5 Things to Watch for When Choosing Tape and Tools
- Use hockey-specific tape. Hockey tape's cloth and adhesive are designed for ice and glove contact. Using regular tape changes the feel and may leave residue or damage the stick's surface when removed.
- Think about your game first, looks second. Looking good matters, but if your shot motion needs a certain feedback, prioritize that when choosing a taping style.
- Decide early: tape or grip for the knob. Grips are softer and less abrasive on gloves; tape is more adjustable and easy to touch up. Neither is inherently better.
- Let the surface dictate the taping style. Ice, inline, and off-ice are different—don't take your ice setup straight to concrete.
- Beginners: don't change too much at once. Play with the traditional three-piece setup for a while, establish a baseline, then experiment.
Record Your Testing Process: A Practical Method with Tinrec
Taping styles are easy to forget once you've tried them.
On the ice you think, "This stick feels stickier with the puck, passing is solid," but two weeks later you only remember "there was a difference, but I can't recall what." If you're rotating several sticks and several taping styles, this problem gets worse.
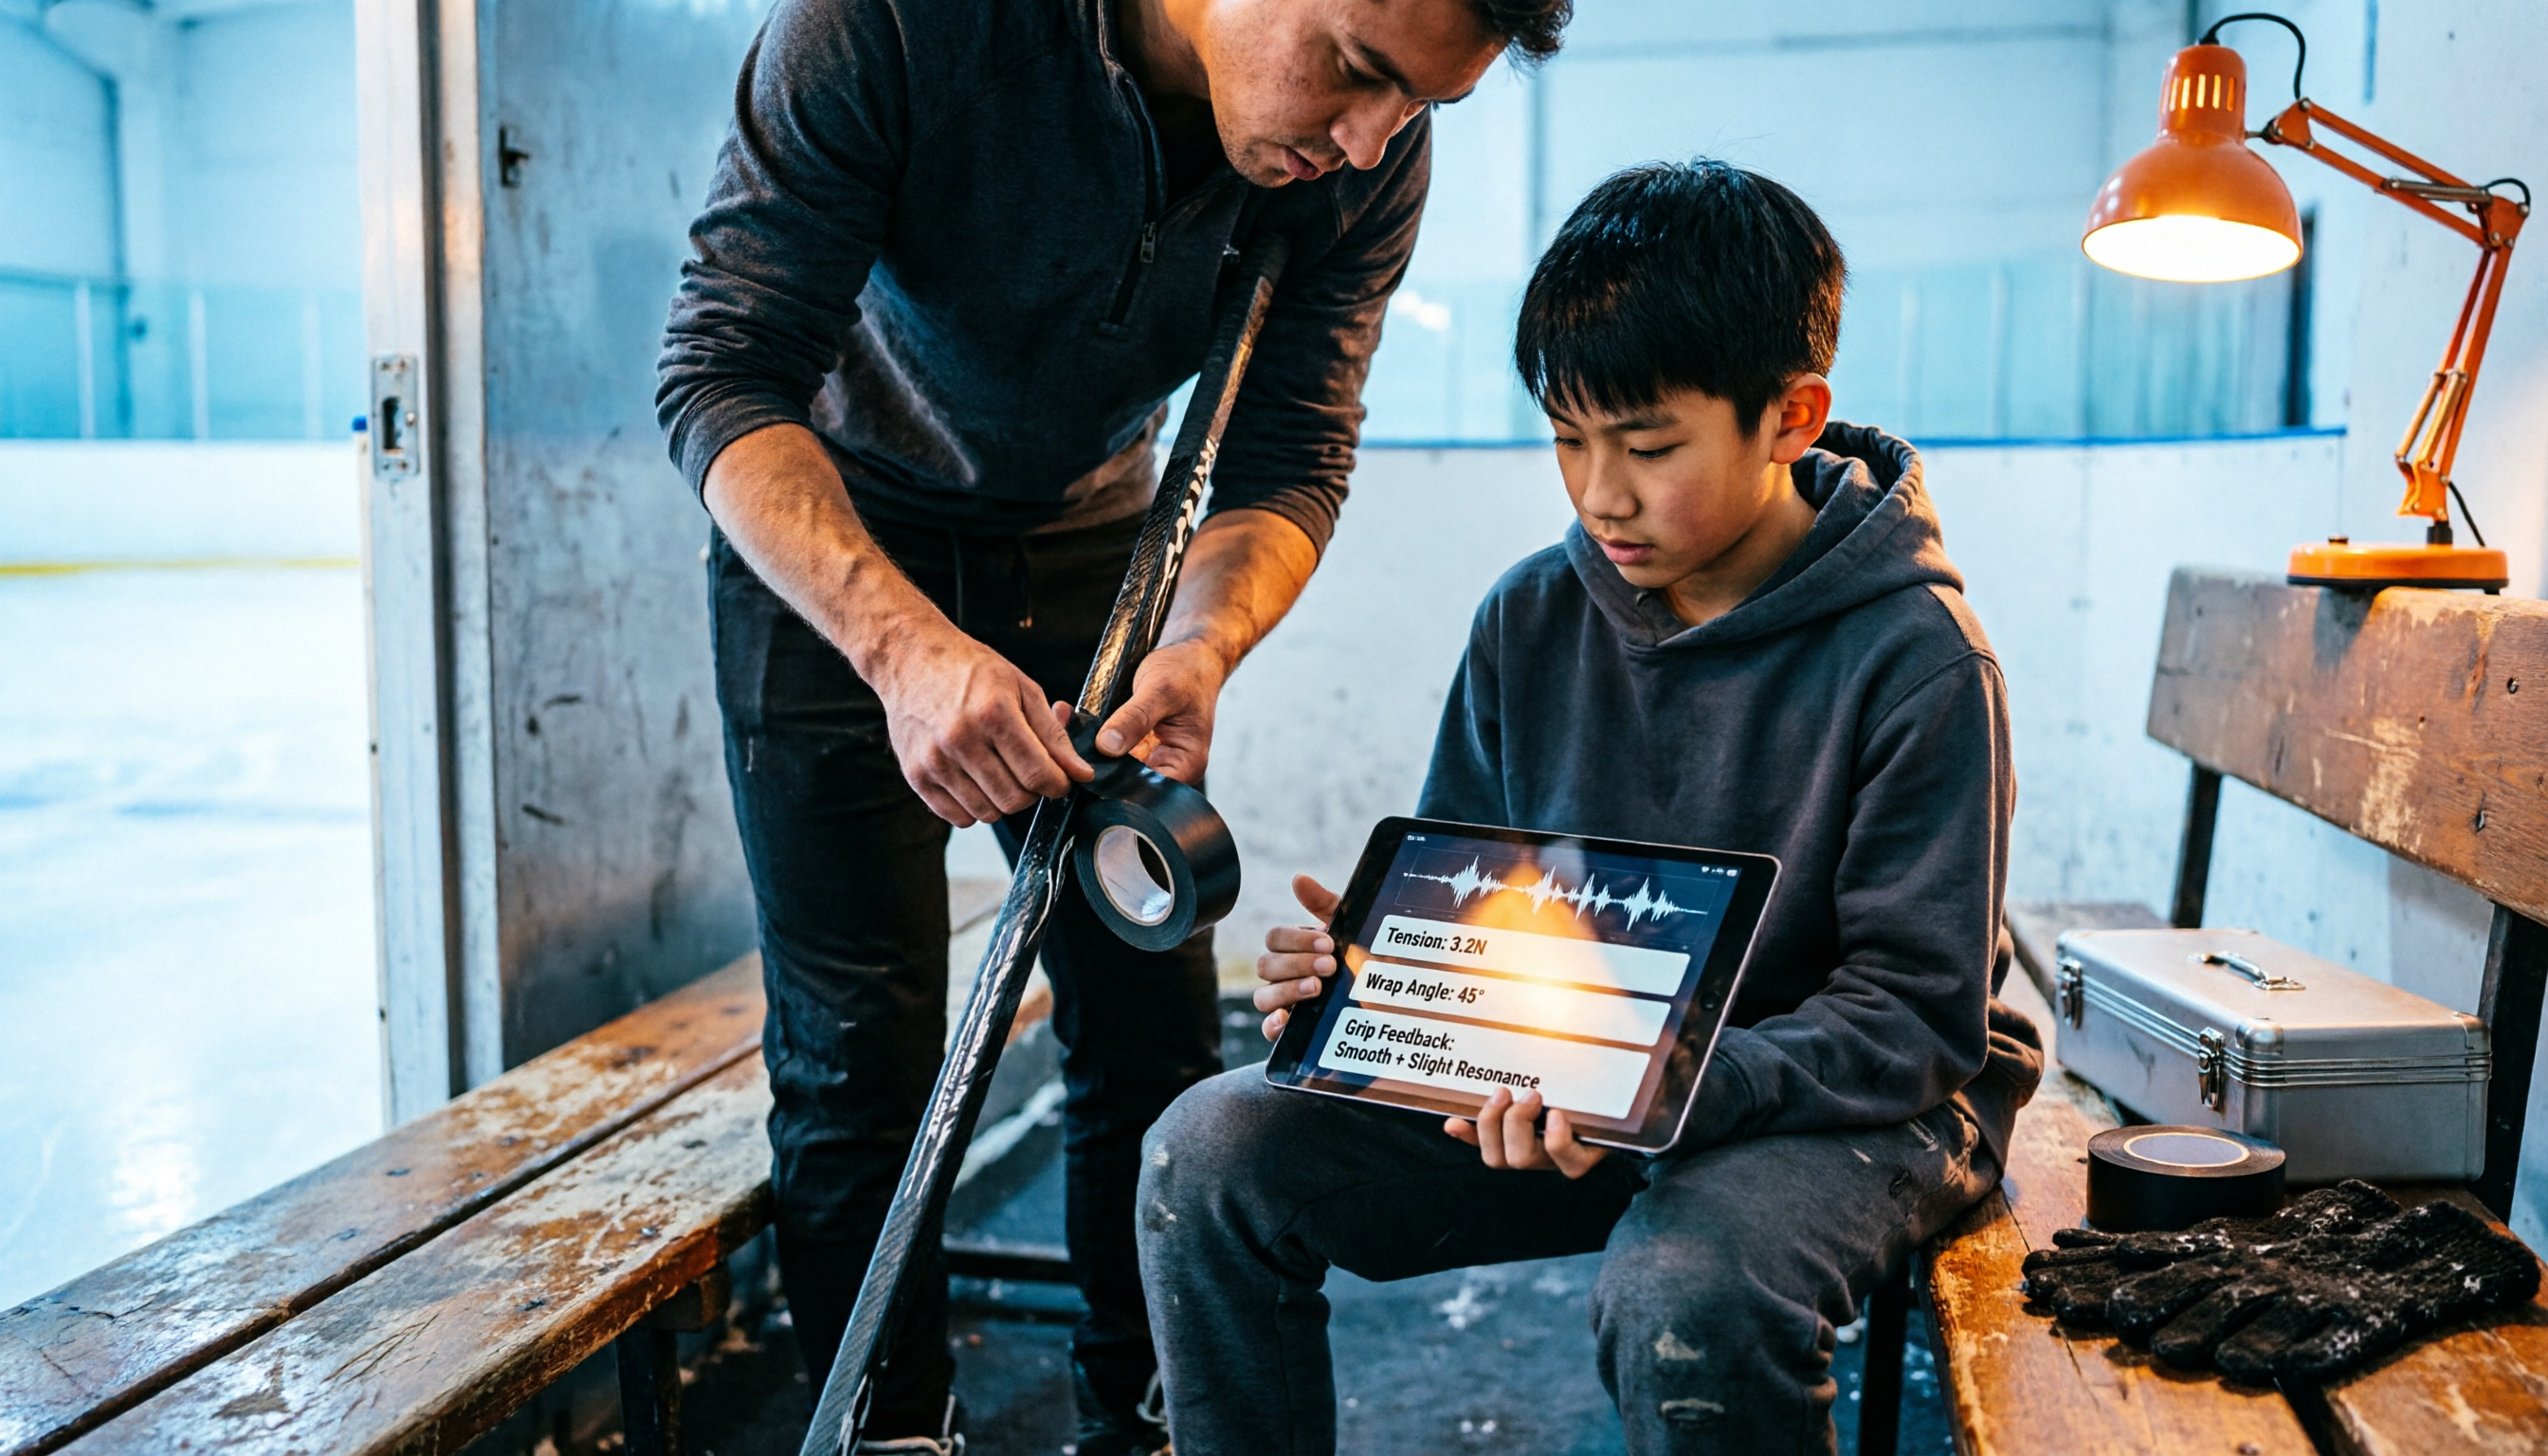
Here's how I handle it: after a game, I just talk through it in the car or locker room and let Tinrec do the rest.
Tinrec is an AI meeting recorder and collaboration tool. In practice, it works like this:
- Real-time speech-to-text: Just say things like "Today I used heel-to-toe on this one, passing was solid, but the slap shot felt half a beat slow," and it converts to text as you speak—no need to write notes afterward.
- AI summaries and action items: After you finish, the summary pulls out the key points, and action items can be listed as "Switch to 3/4 wrap and test again next week."
- AI Q&A: After a few records, you can ask it "What was the issue with that toe-bare taping style I mentioned last time?" and it will search your recordings for the answer.
- Multi-format export: Organized content can be exported to Notion, Google Docs, and other tools to keep with your training log.
For teams or clubs, coaches and equipment managers can explain equipment standards once in a team meeting, and afterward have transcripts and summaries to send to players and parents—no need to repeat it every time someone asks. Tinrec's team plan offers a dedicated team space where meetings and records belong to the team and can be handed over when a member leaves or loses their seat, rather than being taken by an individual; it also includes role and seat management, usage analytics, and audit logs.
Pricing: The free plan lets you try basic usage; the team plan is currently USD 29.80 per paid seat per month, or USD 199 per paid seat per year (about USD 16.58 per month). Actual prices and benefits are subject to the official purchase page.
That said, Tinrec won't tell you which taping style is better. It just turns what you've said into searchable data—the judgment is still up to you.
FAQ
Q1: What taping style should a complete beginner start with? The traditional knob, shaft, and blade three-piece setup. It's the most common and easiest to learn—play a few times with a basic setup before experimenting.
Q2: Does taping style really affect your shot? Yes, but the extent varies by player. A common belief is that heel-to-toe adds spin to the puck, making it harder for goalies to control, and may slightly reduce shot speed—but these are mostly player experiences, not fixed numbers from instruments. Try both yourself.
Q3: Should I leave the toe of the blade bare? It depends on how much you value direct feel at the toe. Full wrap offers the best protection; leaving it bare gives more feel feedback; 3/4 wrap is the middle ground.
Q4: Can I use regular tape? Not recommended. Hockey tape's cloth and adhesive are designed for ice and glove contact. Regular tape feels different and may leave residue when removed.
Q5: Is taping the same for inline and ice? No. On concrete or tile, traditional taping creates drag—usually you switch to applying pre-cut tape strips horizontally across the blade.
Q6: Stick grip or tape—which is better? Grips are softer, more consistent, and less abrasive on glove palms; tape is more adjustable and easy to touch up. It depends on whether you value consistent feel or adjustability.
Q7: What does Tinrec have to do with stick taping? It's not involved in taping. Its role is to turn "said and forgotten" content—test notes, coach instructions, team meetings—into searchable, organized text so you can compare later. If you already remember clearly and don't need records, the taping advice in this article is enough.
Conclusion
Taping is simple in tools but hard in finding your own feel. Start with the traditional three-piece setup to establish a baseline, then begin with blade taping styles, changing one variable at a time and adjusting gradually.
Each of the four common styles has its use: heel-to-toe is the most versatile, toe-to-heel preserves feel, full wrap offers the best protection, and 3/4 is the middle ground.
Finally, if you're the type who forgets after trying, or if your team needs a shared way to record things, consider using Tinrec to speak and save each test. The free plan's quota is about enough for a few practice sessions—try it and see if it fits your habits.
References
- Stick Taping Styles – Find the Best Tape Job for Your Game
- What Are the Most Popular Hockey Stick Tape Jobs?
- r/hockeyplayers on Reddit: New Player -- Do Different Stick Tape Jobs Do Anything?
- How to Tape a Hockey Stick
- 4 Hockey Stick Tape Jobs Tested in 2026: Which Taping Style Really Improves Stickhandling? - Official Tinrec Blog
Turn every recording into actionable outcomes
Get 60 free transcription minutes when you sign in. No credit card required.
Related Reading
You might also like

2026 AI Meeting Transcription Tools Compared: Is Notta's Free Plan Enough? Which Free Tier Is Most Generous?
People searching "Notta AI free" usually want to know: what the free plan can actually do, whether the 3-minute per-recording limit is real, and when to upgrade. This article breaks down Notta's free plan limits from a buying perspective and compares the free and entry-level plans of Tinrec, Otter.ai, and Granola, with buying tips and pitfalls to avoid, to help you decide which tool to use.

Good Tape Free? 2026 Comparison of 3 Free Transcription Models: Which One Is Enough?
Is Good Tape free? Yes, the free plan allows 3 transcripts per month, each up to 30 minutes, plus a one-time 1-hour trial. This article breaks down three free models—limited count, limited minutes, and limited trial—and compares them with Tinrec's free plan. Learn how to evaluate free quotas, use them for meeting notes and interview organization, and understand team roles and seats to choose the one that truly fits your needs.

in nottata Meaning Explained: 3 Key Uses, Examples, and Similar Words
What does in nottata mean? Starting from the meaning of nottata, this article breaks down the key uses of the time expression in nottata, organizes common collocations like fare nottata and nottata bianca with practical examples, compares notte, di notte, and nottetempo, and clarifies the 3 most common misunderstandings.

Is Harleen Nottay Married? What Public Records Reveal and What They Don't
Is Harleen Nottay married? This article compiles information from public sources like IMDb, BBC, Facebook, Instagram, and LinkedIn to explain why there is no reliable answer about her marital status and highlights common verification pitfalls.
The Complete 2026 Guide to Finding the Right Taper Barber: 3 Steps from Selection to Communication to Follow-Up Records
When you search for 'good taper barbers near me,' you're really trying to answer three questions: Who can actually do a taper? How can I verify their skill? Can I get the same result next time? This guide breaks down a repeatable process—from judging a barber's portfolio and pre-cut consultation to keeping records for your next visit—and shows how Tinrec turns each consultation into a searchable, reviewable record.

How to Cancel Your Good Tape Subscription in 2026: Step-by-Step Guide and a Better Meeting Notes Alternative
Canceling takes five minutes—the real hassle is your meeting data living in someone else's account. This guide first explains how to cancel the Good Tape transcription service and magazine subscription, then looks at the workflow: after canceling, how do you keep using transcripts, summaries, and action items, and what role Tinrec plays.

How to Transcribe Good Tape Videos in 2026: 3 Steps to Transcripts + AI Meeting Notes
Many people upload a video to a transcription tool, get the transcript, and think they're done—only to re-listen to the recording later to find key points. This guide walks through the actual Good Tape video-to-text workflow, breaks down 3 common pitfalls, and shows how to use Tinrec to turn transcripts into summaries, action items, and shareable team meeting materials.

Notta in 2026: Hug Atelier Pendant Lamp vs. Audio-to-Text Tool – Differences, Features, and Practical Uses
Searching for 'notta' and getting a Turkish design brand's pendant lamp? This guide first clarifies that Hug Atelier's Notta pendant lamp and the audio-to-text tool are two different things, then breaks down from a student's perspective how audio-to-text can help: in classes, group discussions, project interviews, and online lectures. Using Tinrec as a hands-on example, it explains core capabilities, the 5 most common pitfalls when choosing a tool, and FAQs.

Good Tape vs Tinrec 2026: 5-Dimension Comparison — Which Is Better for Chinese-Speaking Teams?
Good Tape reviews are everywhere, but is it really right for your meeting scenarios? This article breaks down Good Tape and Tinrec across 5 dimensions—Chinese transcription, meeting capture, post-meeting organization, team governance, and data privacy—and offers clear recommendations based on budget and needs.